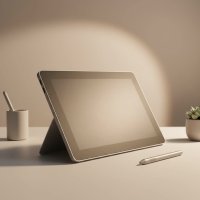
Welcome to the ultimate guide for anyone looking to dive into the world of digital art with a graphic art tablet. Whether you’re a seasoned professional designer or a curious beginner, this powerful tool is the bridge between traditional artistry and the limitless possibilities of the digital canvas. It replaces your mouse with a pressure-sensitive pen and surface, offering a level of control and precision that’s impossible to replicate otherwise. In this comprehensive guide, we’ll break down everything you need to know to find the perfect tablet for your creative journey.
What is a Graphic Art Tablet and How Does It Work?
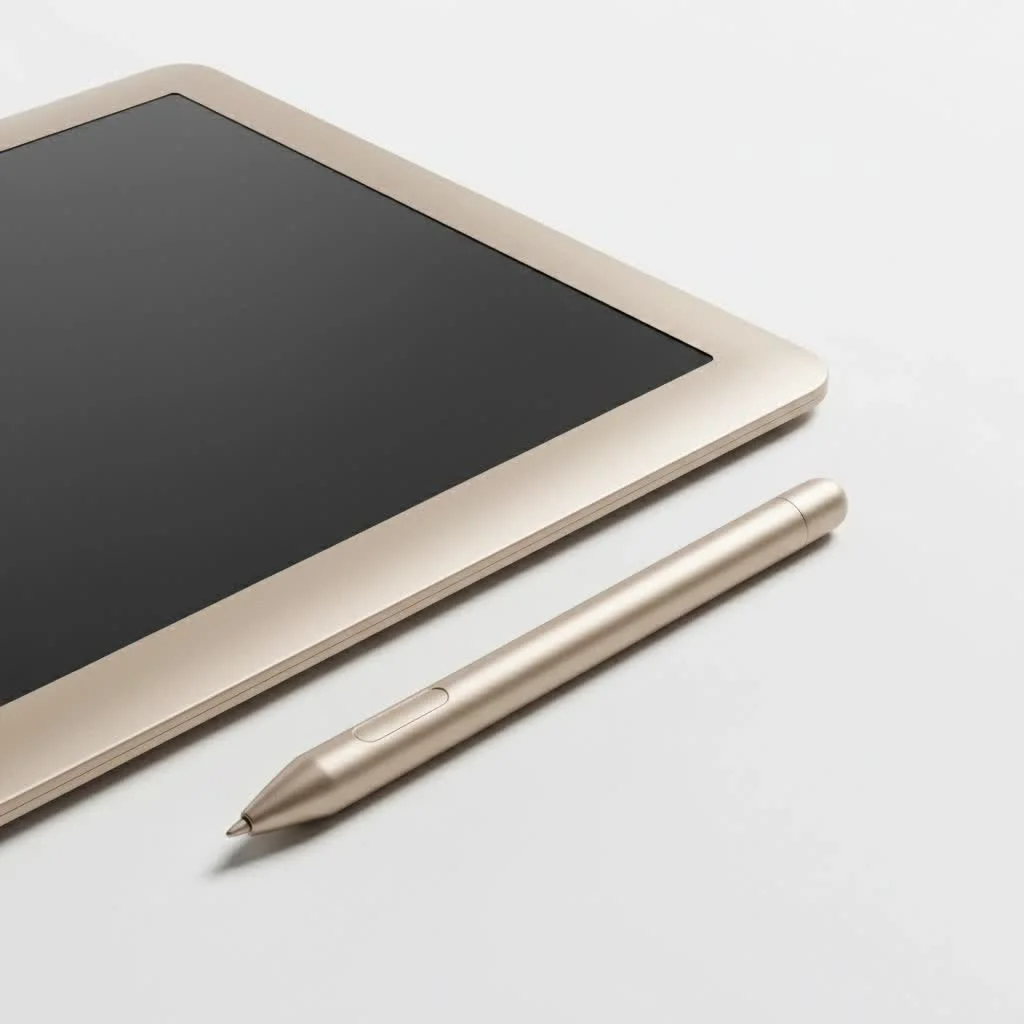
A graphic art tablet is an input device that allows you to draw on a computer with a pen-like stylus. It consists of a flat, touch-sensitive surface that you draw on and a stylus that you hold like a regular pen. The tablet translates the movement and pressure of your stylus into digital strokes on your computer screen. Think of it as a digital piece of paper. For see our reviews recommendations on this site.
The magic lies in the connection between the pen and the tablet’s surface. As you move the stylus, the cursor on your screen moves with it. When you press down, it creates a line. The harder you press, the thicker or more opaque the line becomes, mimicking the feel of real-world drawing tools. This technology, often called EMR (Electro-Magnetic Resonance), allows for incredibly nuanced and natural-feeling input, which is essential for tasks like illustration, photo editing, and 3D sculpting.
Key Features to Consider When Buying a Tablet
Navigating the technical specifications of a graphic art tablet can feel overwhelming at first. Let’s demystify the most important features to help you make an informed decision.
Active Drawing Area
The active area is the part of the tablet’s surface that actually detects your stylus. It’s crucial to choose a size that fits your workflow and desk space.
- Small Tablets (around 6×4 inches): These are portable and affordable, making them great for beginners or artists with limited desk space. They’re best suited for broad strokes and photo editing rather than highly detailed illustrations, as you’ll need to zoom in and out more frequently.
- Medium Tablets (around 8×5 to 10×6 inches): This is the sweet spot for most users. They offer a good balance of drawing space and portability, allowing for comfortable arm movements without taking up too much room.
- Large Tablets (12×8 inches and up): Ideal for professionals who work on large monitors and require sweeping, precise strokes from the shoulder. They offer the most direct 1:1 mapping to a large screen but require significant desk real estate.
Pressure Sensitivity
|
Our Picks for the Best Graphic Tablet in 2026
As an Amazon Associate I earn from qualifying purchases.
|
||
| Num | Product | Action |
|---|---|---|
| 1 | HUION KAMVAS Pro 16 Drawing Tablet with Screen, 15.6 inch Pen Display Anti-Glare Glass 6 Shortcut Keys Adjustable Stand, Graphics Tablet for Drawing, Writing, Design, Work with Windows, Mac and Linux |

|
| 2 | Graphics Drawing Tablet, UGEE M708 10 x 6 inch Large Drawing Tablet with 8 Hot Keys, Passive Stylus of 16384 Levels Pressure, UGEE M708 Graphics Tablet for Paint, Design, Art Creation Sketch |
|
| 3 | Wacom Intuos Pro Medium Bluetooth Professional Graphic Drawing Tablet with Pro Pen 3, Compatible with Mac, Windows - 2025 Edition |
|
| 4 | GAOMON M10K Drawing Tablet, 10x6 inch Large Graphics Tablet with Touch Ring, 8192 Levels Battery-Free Stylus, 10 Hot Keys, Art Tablet for Design, Writing, Editing, Work with Mac, Windows, Android |
|
| 5 | Drawing Tablet for Beginner Graphics OSU Tablet with Battery-Free Stylus 8192 Pressure Sensitive for Digital Art, Painting & Design, Compatible with Windows, Mac OS and Android |
|
| 6 | HUION Inspiroy H1060P Graphics Drawing Tablet with 8192 Pressure Sensitivity Battery-Free Stylus and 12 Customized Hot Keys, 10 x 6.25 inches Digital Art Tablet for Mac, Windows PC and Android |
|
| 7 | XOPPOX Graphics Drawing Tablet 10 x 6 Inch Large Active Area with 8192 Levels Battery-Free Pen and 12 Hot Keys, Compatible with PC/Mac/Android OS for Painting, Design & Online Teaching Black |
|
| 8 | HUION Drawing Tablet HS610 Graphic Tablet with Battery-Free Stylus 8192 Pen Pressure Tilt Function, 10x6.25 Inches Digital Art for Animation & Design, Compatible with Windows/Mac/Android |
|
| 9 | HUION Kamvas 13 (Gen 3) Drawing Tablet with Screen,13.3\" Full-Laminated Art Tablet with Anti-Sparkle Canvas Glass 2.0, 99% sRGB, PenTech 4.0, 16384 Pen Pressure, Dual Dial for PC, Mac, Android, Black |
|
| 10 | HUION Inspiroy H640P Drawing Tablet, 6x4 inch Digital Art with Battery-Free Stylus, 8192 Pen Pressure, 6 Hot Keys, Graphics Tablet for Drawing, Writing, Design, Teaching, Work with Mac, PC & Mobile |
|
Pressure sensitivity determines how the tablet registers the force you apply with the stylus. Measured in levels, it dictates how well the tablet can replicate the variations in line weight and opacity, just like a real pencil or brush.
- 2,048 Levels: This was the professional standard for years and is still more than enough for most hobbyists and even many professional artists.
- 4,096 Levels: A common level in many mid-range tablets today, offering smoother transitions.
- 8,192 Levels: The current high-end standard. This provides an exceptional level of nuance, capturing even the faintest of touches. For most users, the difference between 4,096 and 8,192 might be subtle, but it’s a valuable feature for artists who rely on extremely delicate line work.
Resolution (LPI)
Resolution, measured in Lines Per Inch (LPI), refers to how many digital lines can fit into one inch of the tablet’s active area. A higher LPI means the tablet can recognize more detail and produce smoother, more precise lines, especially noticeable in curves and diagonals. Most modern tablets have an LPI of 2540 or higher, with professional models reaching 5080 LPI. For nearly all use cases, 2540 LPI is perfectly sufficient.
Stylus Type
The stylus is your primary tool, and its design is crucial for comfort and performance.
- Battery-Free (EMR): This is the most common and preferred type. The stylus is powered wirelessly by the tablet itself through electromagnetic resonance. It’s lightweight, requires no charging, and is incredibly reliable.
- Battery-Powered: These styluses require either a disposable or rechargeable battery. They are often found in older or budget models and can be slightly heavier and thicker, which might affect balance and comfort during long drawing sessions.
As a professional with over a decade of experience, I always recommend a battery-free stylus. “The last thing you want in the middle of a creative flow is your pen dying,” advises graphic design expert Daniel Evans. “EMR technology is a game-changer for reliability and comfort.”
Which Type of Graphic Art Tablet is Right for You?
The term “graphic art tablet” can refer to a few different types of devices. Understanding the distinction is key to finding the right fit for your needs and budget.
Pen Tablets (Screenless)
This is the classic and most common type of graphic art tablet. You draw on the tablet’s surface while looking at your computer monitor. There is a learning curve involved in developing the hand-eye coordination required, but it quickly becomes second nature. They are the most affordable option and are beloved by professionals and beginners alike for their simplicity and durability.
- Pros: Most affordable, durable, excellent ergonomics (you’re not hunched over a screen).
- Cons: Requires hand-eye coordination development.
Pen Displays (With a Screen)
A pen display combines a graphic tablet with a built-in screen, allowing you to draw directly onto your artwork. This creates a more intuitive and direct experience, similar to drawing on paper. However, this convenience comes at a significantly higher price. You also need to consider factors like color accuracy, parallax (the gap between the glass and the display), and screen texture.
- Pros: Intuitive direct-drawing experience, no hand-eye coordination barrier.
- Cons: Much more expensive, can generate heat, potential for parallax.
Tablet Computers
These are all-in-one devices like the iPad Pro or Microsoft Surface Pro. They function as full computers with touchscreens that support a pressure-sensitive stylus. They offer the ultimate in portability, as you don’t need to be tethered to a separate computer. They are perfect for artists who work on the go, but they represent the highest investment.
- Pros: Extremely portable, all-in-one solution.
- Cons: Highest cost, may not have the same level of dedicated driver customization as a dedicated tablet.
Setting Up Your First Graphic Art Tablet
Getting started is usually a straightforward process. Here’s a simple checklist to get you up and running:
- Don’t Use Default Drivers: Avoid letting your operating system install generic drivers. Go directly to the manufacturer’s website (e.g., Wacom, Huion, Xencelabs) and download the latest driver for your specific model.
- Install the Driver: Make sure the tablet is not plugged in until the installer prompts you to do so. Follow the on-screen instructions.
- Configure Your Settings: Once installed, open the tablet’s control panel. Here you can customize everything from pressure sensitivity curves and button shortcuts to the portion of your screen the tablet maps to.
- Practice: Open your favorite art software (like Photoshop, Krita, or Clip Studio Paint) and just doodle. Get a feel for the pressure, practice strokes, and adjust the settings until it feels right for you.
Frequently Asked Questions (FAQ)
What is the best graphic art tablet for a beginner?
For most beginners, a medium-sized pen tablet like the Wacom Intuos or Huion Inspiroy series is an excellent starting point. They offer fantastic performance and all the essential features without a hefty price tag, allowing you to learn the fundamentals effectively.
Do I need a tablet with a screen?
You don’t need one, but it can make the transition to digital art feel more natural. If your budget allows and you prefer a direct drawing experience, a pen display is a great choice. However, millions of professional artists use screenless tablets every day with incredible results.
How do I fix parallax on my pen display?
Parallax is the offset between your pen tip and the on-screen cursor. High-end displays minimize this with laminated screens. You can mitigate its effects by running the calibration utility in your tablet’s driver software and making sure to view the screen from a direct, head-on angle while drawing.
Can a graphic art tablet replace my mouse?
Absolutely. Many artists use their tablet for all computer navigation. The pen offers a more ergonomic way to interact with your computer, which can help reduce the risk of repetitive strain injury (RSI).
What software do I need to use with a graphic art tablet?
Your tablet will work with any software that supports pen input. Popular choices for artists include Adobe Photoshop, Clip Studio Paint, Krita (which is free), Corel Painter, and ZBrush for 3D sculpting.
Your Creative Journey Starts Now
Choosing the right graphic art tablet is the first step on an exciting creative path. By understanding the core features like active area, pressure sensitivity, and stylus type, you can confidently select a tool that matches your artistic goals and budget. Remember that the best tablet is the one that gets you creating. Don’t get too caught up in specs; find a reliable device, practice regularly, and let your imagination do the rest.
Get our weekly buyer guide
Practical specs, not advice. Unsubscribe anytime.